
Tap any screenshot to enlarge it. Use “Watch this step” to replay the matching video moment.
The route at a glance
Start at the small pond east of Fortune’s Fort, search the stone-and-timber tower farther east, then follow the island’s outer side through the tent camp, rock chest, and beach campfire. Finish at the waterfall cave east of town. This gives you clear landmarks to follow without running through the town’s central streets first.
- Pond rock
- Timber tower
- Tent camp
- Rock & beach
- Waterfall cave
Fortune’s Fort is on the green island in the northeast of Crossbones Isle. Use the town label to find the island, then look east for the pond and waterfall. Open the island map to compare the location with your match.
Before you drop
- Match the island: this route covers the November 2026 Treasure Hunters map. If your match shows different terrain or landmarks, use a route for that island instead.
- Equip an emote: have one ready on your wheel for the cave. Heart Attach is demonstrated opening the wall. If you own it, it gives you the closest match to the example.
- Keep an inventory slot flexible: take a weapon and shields from the opening chest before committing to the next building. The tower and cave both have tight entrances.
- Check the bus line: the outer island is not automatically quiet. If several players drop onto your first chest, use another safe landing instead of racing them unarmed.
Part 1: pond, tower, and outer-island chests
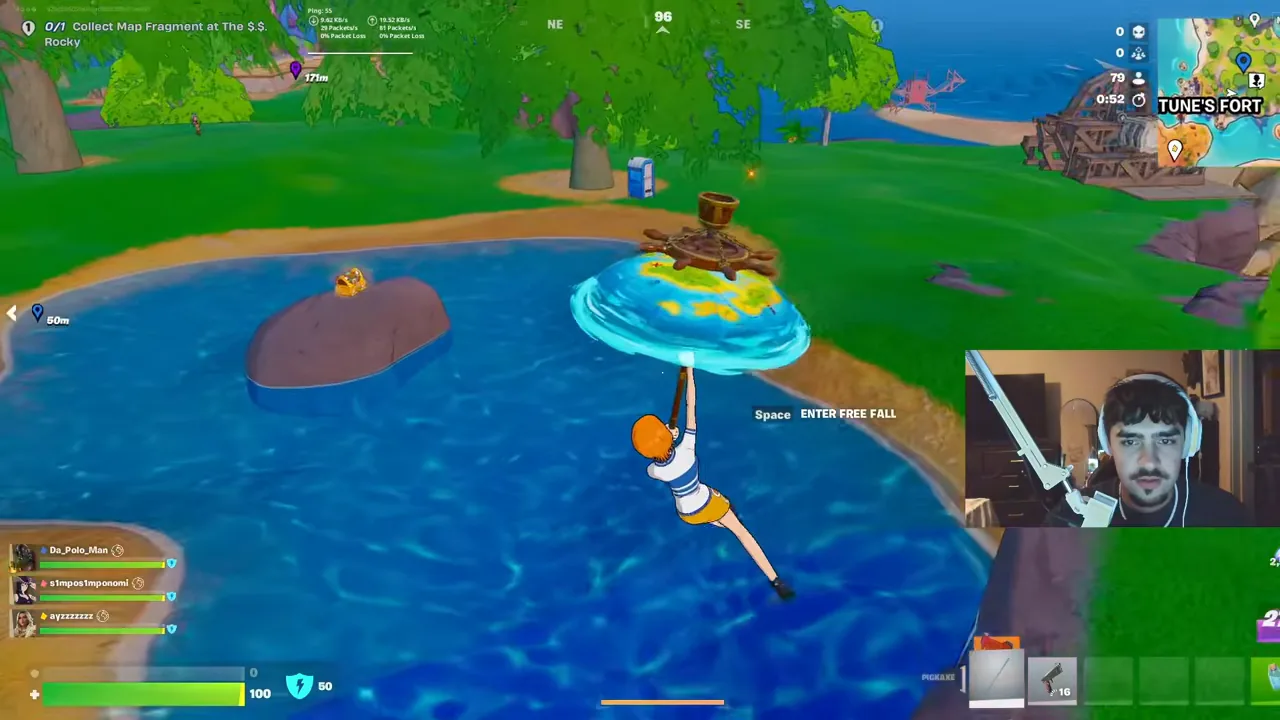
Land on the chest rock in the pond
Look for the small pond east of town, a low rock sticking out of the water, and a blue portable toilet on the grassy bank beside a tree. Aim for the rock: the opening chest sits on top of it in the demonstrated run. Open it and collect enough equipment to defend your next move.
Climb onto the grassy bank toward the stone-and-timber structure. Do not spend time trying to use the nearby toilet as a shortcut into the cave; the demonstrated approach to the cave is through the waterfall.
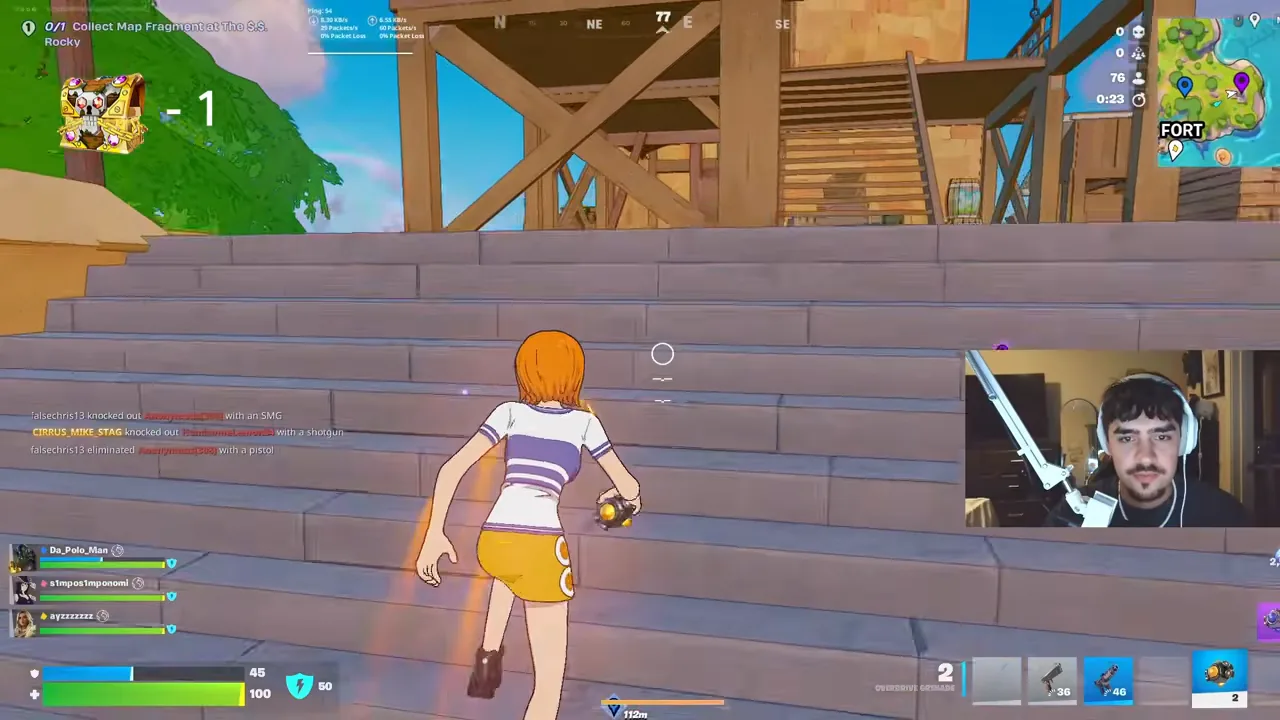
Search the tower from the stairs down
Run to the stone base with open wooden platforms and exterior stairs. Go up the broad steps and check the small stone-walled space off the platform. A chest is opened there at about 01:52. Look at the upper platform before leaving, but move on if the position is empty: an upper spawn is absent in this run.
Return to the lower level and check beneath the stair/platform structure, including the stone corners and wooden supports. The run continues opening chests here around 02:30–02:36. Finish this compact building before crossing the grass to the tents, so you do not need to double back.
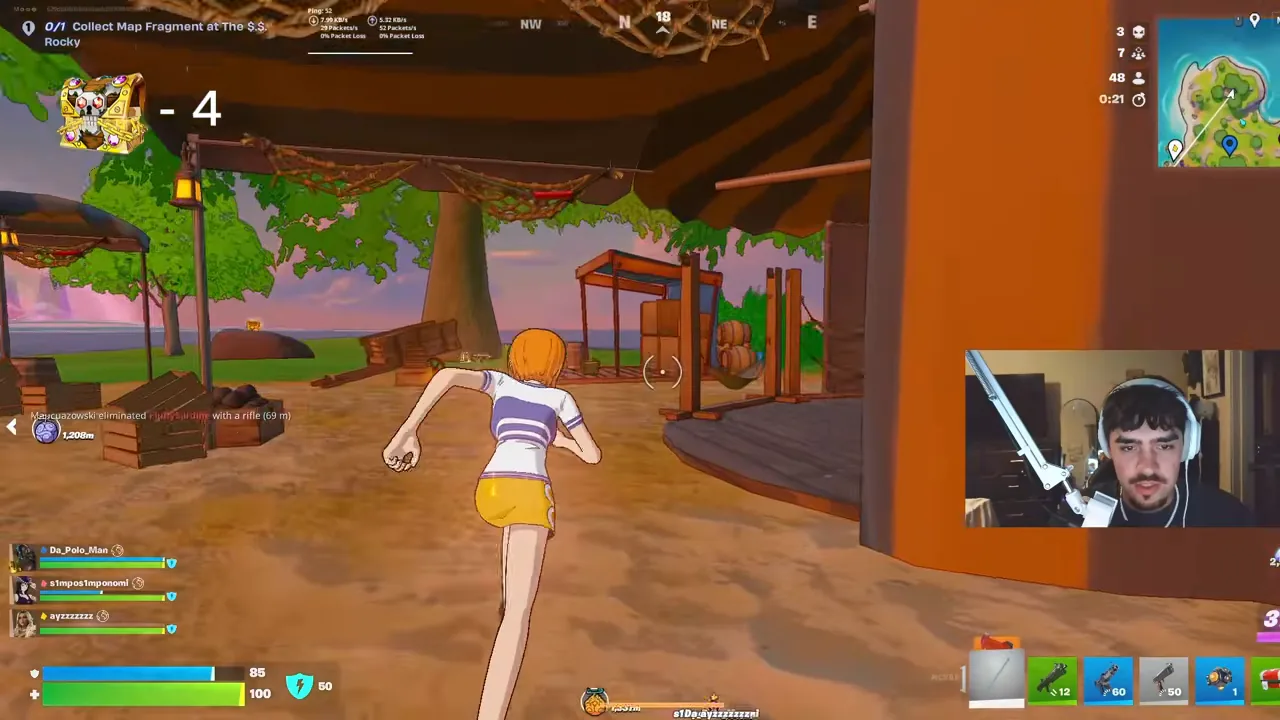
Move through the tent camp
Leave the tower for the orange-and-dark-striped tents along the outer side of the island. Use the tent entrances and the wooden floor as your search line. Check inside beside the storage table and boxes; the run opens a chest in a tent before moving out toward the coast.
Avoid repeatedly circling an empty tent. If there is no chest sound and the interior has already been searched, continue to the next landmark. The camp is a checkpoint, not a promise that every tent contains a chest.
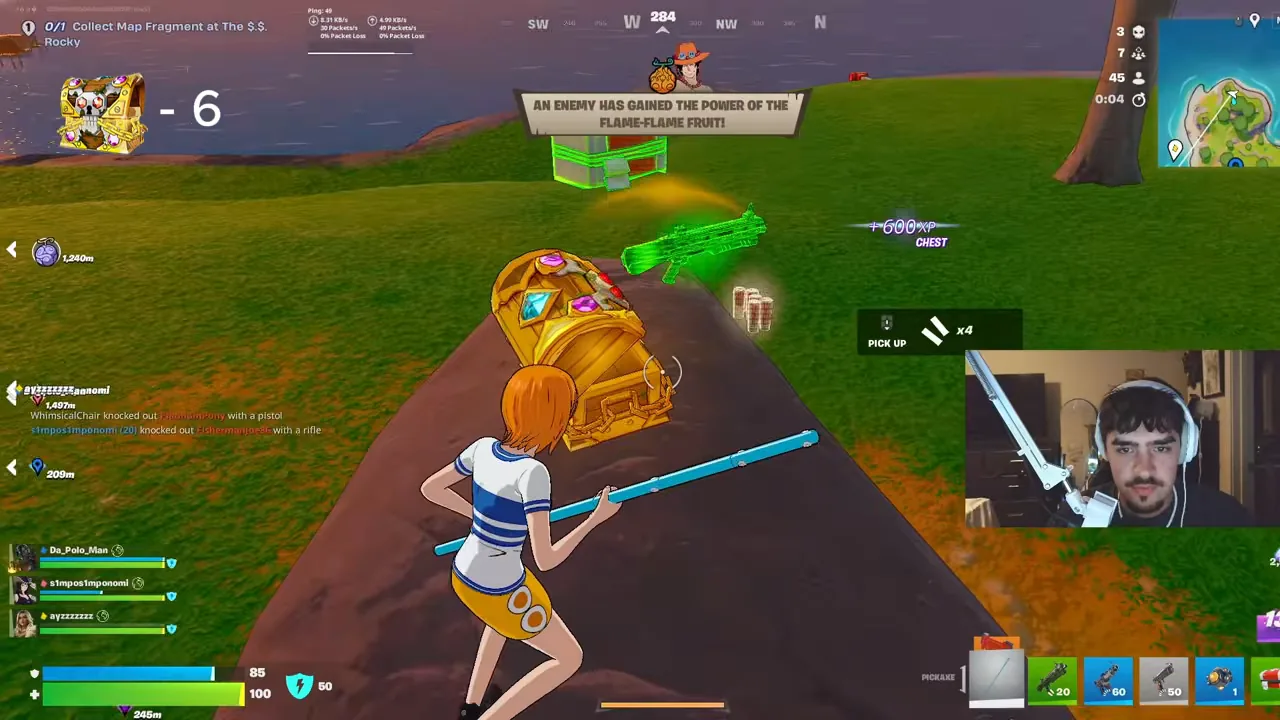
Check the outdoor rock, then drop to the beach
From the tents, look for the low rock on the grassy coastal slope. A gold chest sits on top in the demonstrated run. Approach from the grass, open it, and then scan the beach below before dropping down.
On the sand, the next chest is beside a campfire, stacked crates, and a small ammunition box. Search it if it is still closed. This lower stop is exposed to anyone moving along the coast; take the chest and move rather than sorting every item on the shoreline.
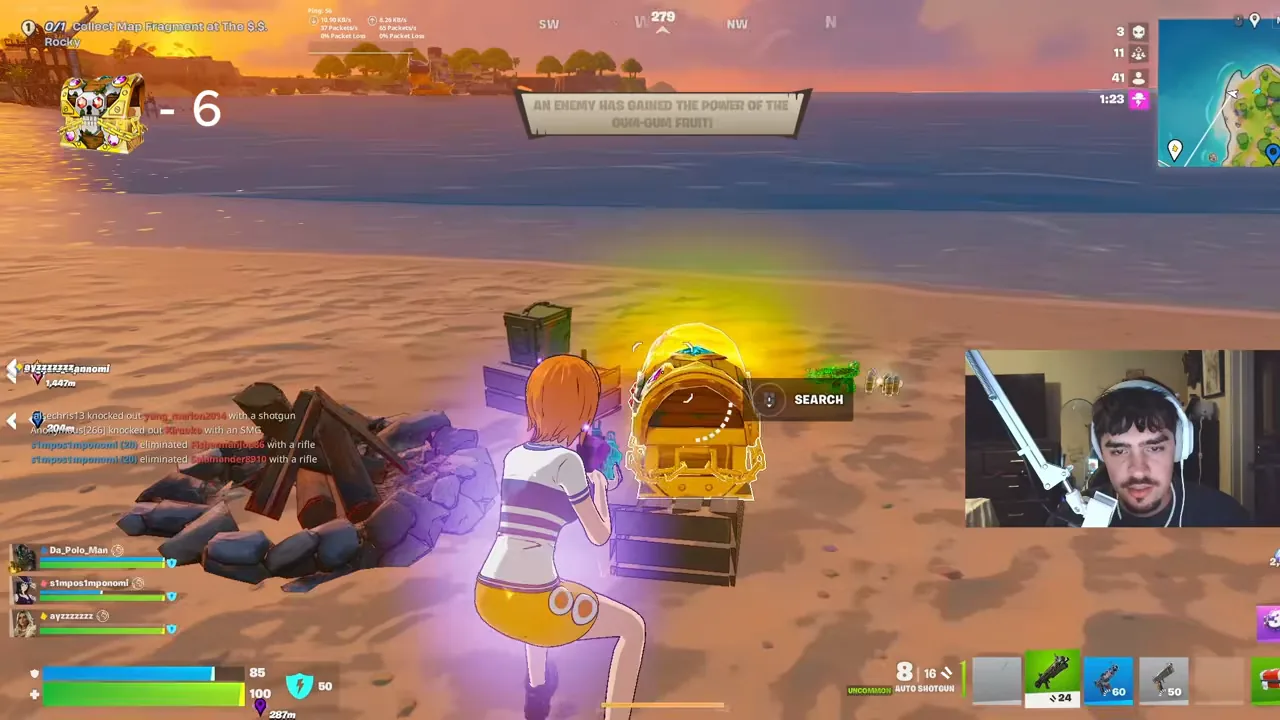
Part 2: enter the waterfall cave and open the hidden wall
The waterfall is east of Fortune’s Fort’s built-up waterfront, on the southern side of the green island. You are looking for falling water against the cliff, with a shallow-water entrance behind it. Recheck the storm before adding this final section.
Pass through the waterfall at water level
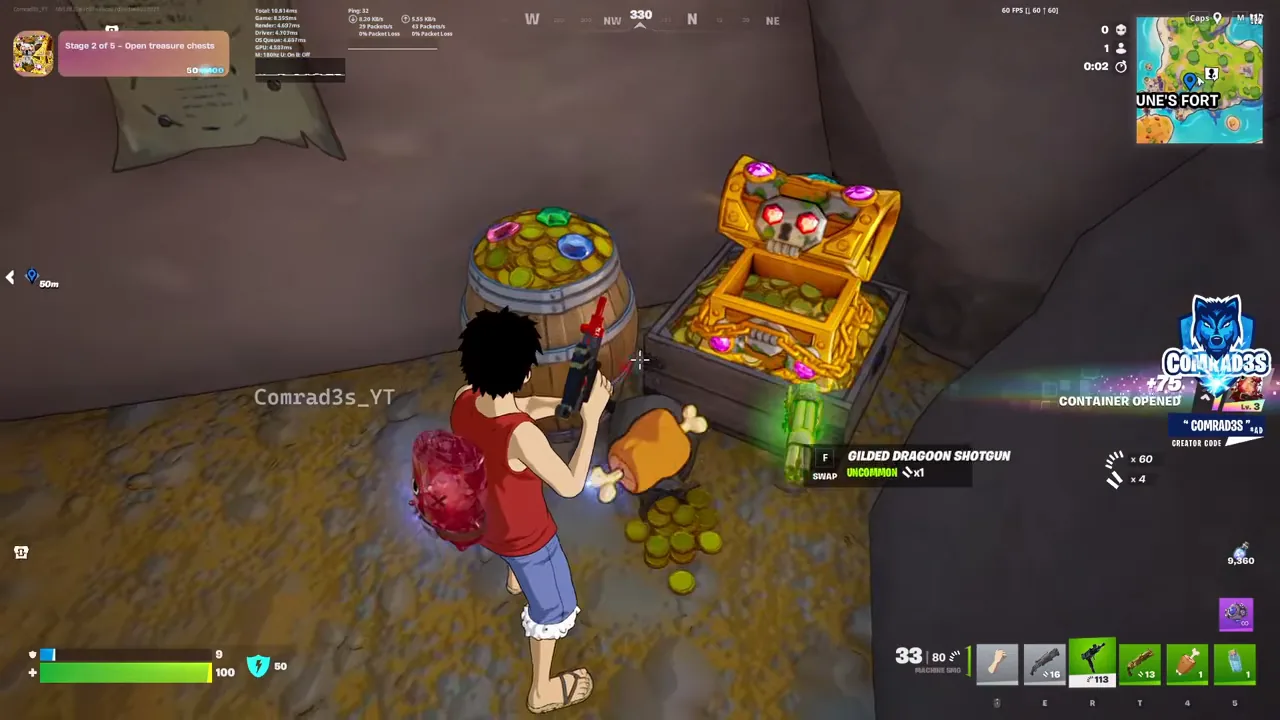
Approach the base of the waterfall and move through the falling water into the opening. You can recognize the first chamber by shallow water, coin piles, barrels, and a barred cage holding a blue sprite farther inside. You do not need to climb to the top of the waterfall to enter.
There are breakable rocks in the entry area. In the close-up walkthrough, the player clears rocks near the wall before opening the first chest. Use your pickaxe on those small obstructions if they block that chest, then collect it before moving deeper.
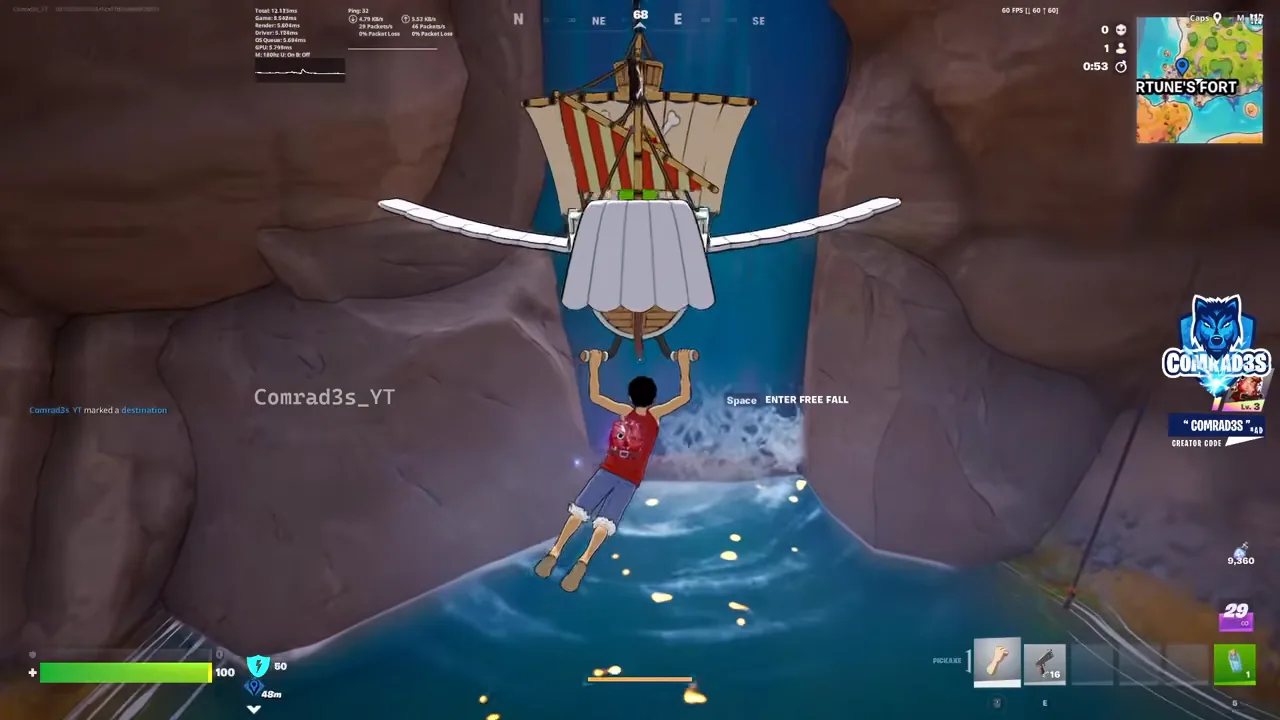
Find the flat wall beside the blue sprite’s cage
Walk beyond the entrance chest and face the solid rock panel beside the cage. Gold-filled barrels and trays sit along the wall; the cage is immediately to your right when you stand in the demonstrated position. These objects distinguish the secret wall from the loose rocks you can break near the entrance.
Stand close to the panel, on the dry ground by the gold. Do not keep pickaxing this large wall: the opening action here is an emote.
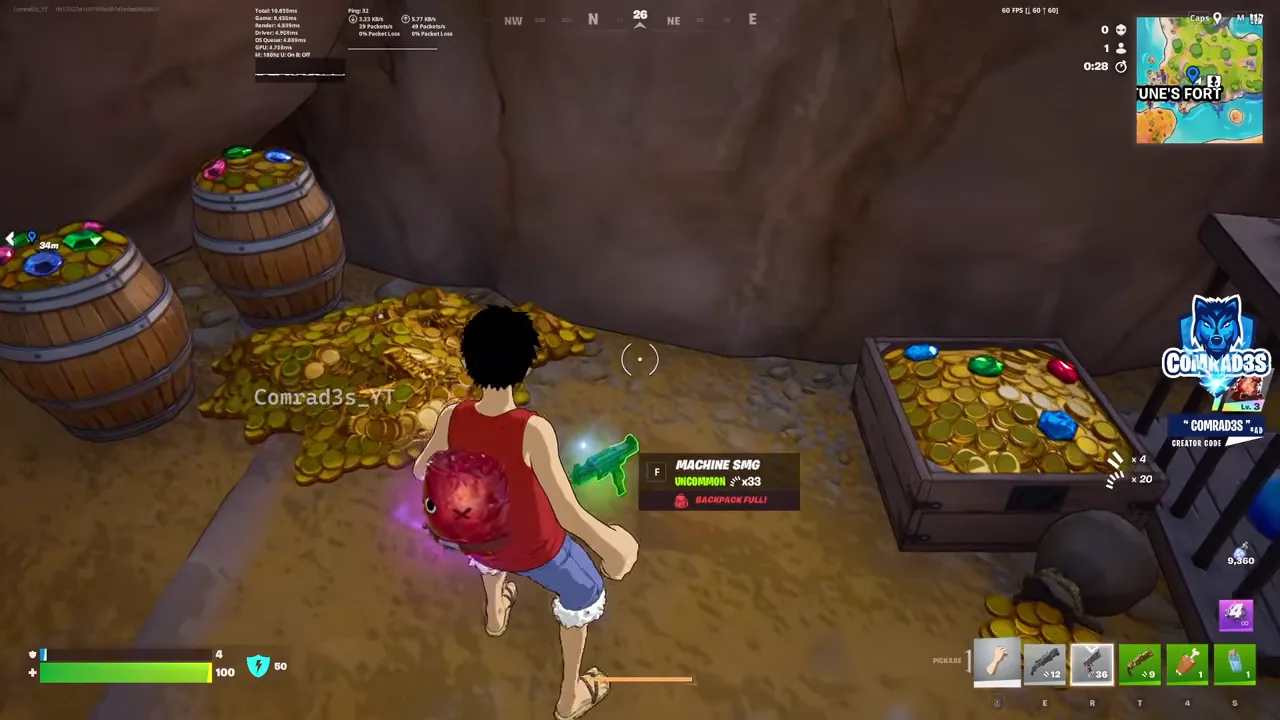
Use an emote and wait for the slab to rise
Open your emote wheel and play an emote while facing the wall. Heart Attach is visibly selected in the close-up example: a pink heart appears, then the rock slab rises and reveals a passage. Give the animation time to finish before walking forward.
You do not need to purchase an emote for this guide. Heart Attach is the verified example, rather than a requirement to buy it. If your equipped emote does not trigger the wall, first match the position in the screenshot, stop moving, and try again. The route does not establish that every possible emote works.
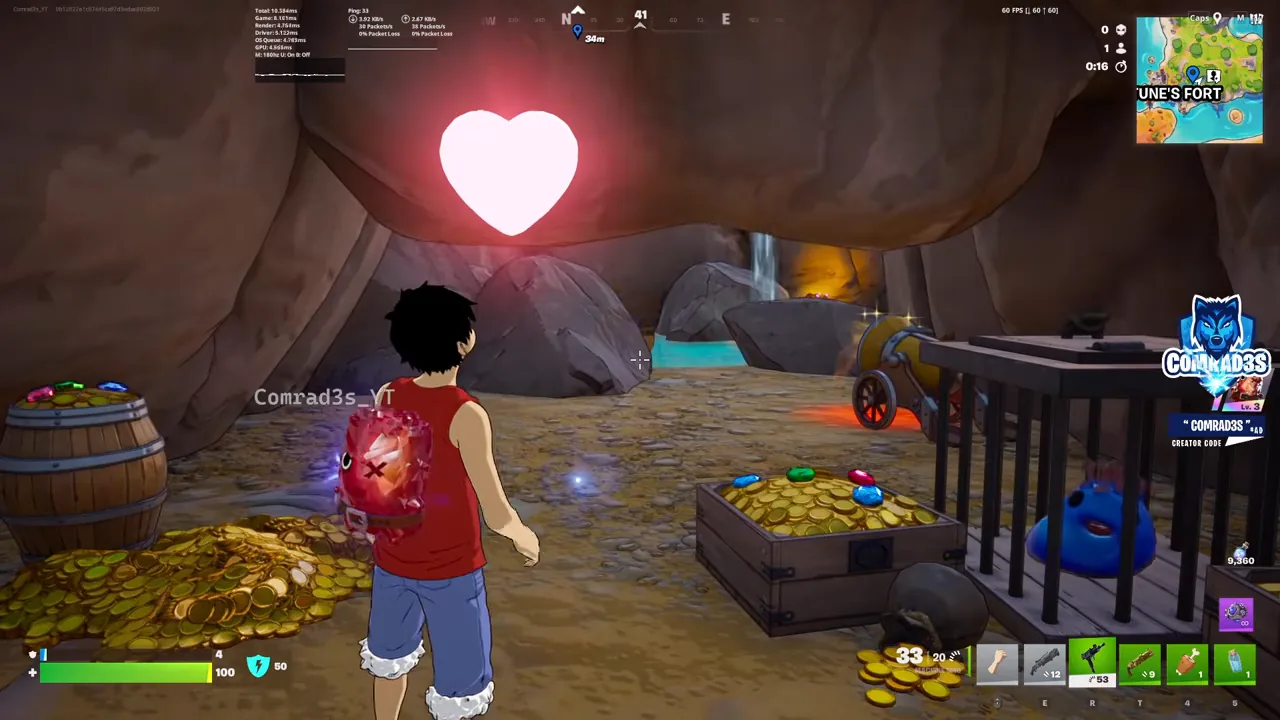
Sweep the rear chamber before leaving
Go through the newly opened passage. Work around the central rock and shallow pool so you can see the chests tucked against the back and side walls. The longer run opens three additional chests in this rear section; check each visible position rather than assuming everything is beside the doorway.
After looting, return through the entry chamber and waterfall to regain a clear view outside. There is a blue portable toilet in the cave, but plan around the entrance you already know instead of relying on an unconfirmed teleport destination. If the storm is closing, leave the town sweep for another match.
When to skip a stop or leave the island
Use the first safe-zone reveal to choose how much of the loop to finish. The outdoor route and cave are separate decisions: finding a few unopened chests outside does not mean the cave is untouched. An open rock doorway, opened lids, and scattered floor loot are better clues than the map marker.
If the cave is already cleared, continue toward an unsearched part of Fortune’s Fort only when the town is safe and your rotation allows it. If the safe zone is far away, leave the optional town buildings and move toward the mainland connection. Heal and choose your next crossing before you are forced off the coast.
For a squad, assign one player to check the cave approach while others finish safe outside positions. Share which rooms are already cleared. Do not all queue behind the same chest or split so far apart that nobody can help at the cave’s narrow entrance.
Common problems on this route
I found the waterfall but no secret wall.
Go through the water into the first chamber. Look past the entrance loot for the barred blue-sprite cage and gold barrels. The secret panel is beside that cage, not the waterfall itself or the loose entrance rocks.
The emote did not open the wall.
Check that you are facing the panel beside the cage, stand close to it, and let the emote play. Heart Attach is demonstrated. If the opening is already exposed, walk through; another player may have activated it. If the landmarks differ, the map may have changed.
How many chests will I get?
There is no fixed count for your match. Possible positions can be empty or already searched. Use the pond, tower, tents, coastal rock, beach, and cave as a route sequence; do not wait at an absent spawn to reach a promised total.
Does the cave guarantee a shop token?
No. A room full of chests is a loot opportunity, not a guaranteed token reward or a proven boost to drop odds. The walkthrough does not demonstrate a token drop from the cave. See the token rarity explanation before treating any route as a farm.
Keep this checklist open while you play
The checklist resets when you reload this page.
Try another detailed route: The $.$. Rocky Vault Key walkthrough covers the ship’s guiding trail, service passages, and yellow vault door.