
Tap any screenshot to enlarge it. Use “Watch this step” to replay the matching video moment.
Find a Wanted Poster with a Sprite icon, interact with it, follow the Treasure Map image to its spot, and dig at the X with your pickaxe. The buried Sprite Chest appears after the mound is removed.
You need: only your pickaxe; you do not need a Vault Key for this task.
How the poster task works
- Find poster
- Interact
- Read Treasure Map
- Go to marked ground
- Dig at X
- Open Sprite Chest
A Sprite Wanted Poster is a wall sign showing a sprite-shaped face with “WANTED” above it. Interacting turns it into a treasure-map overlay: use the visible buildings, paths, coastline, and red X to identify where to go. When you reach the marked ground, a low mound appears. Dig it with your pickaxe and open the exposed Sprite Chest.
Where posters can appear
The demonstrated examples are inside named locations: one poster is on a Loguetown house exterior and another is found around Lantern Landing. Search building exteriors and street-facing walls in those named areas rather than remote empty beaches.
Poster positions are randomized per match. The examples prove the type of place to check, not a fixed spawn you can mark once and reuse forever.
Poster-to-chest walkthrough
Look for a “WANTED” poster with a Sprite face
Walk along building exteriors in a named location and look for a single wall poster with a sprite-shaped face. In the Loguetown example, it is mounted on the outside wall of a house near other buildings and stairs.
Posters are often easier to see from the street than from inside a room. If you are searching with a squad, split by street or block and call out the building, not only the area name.
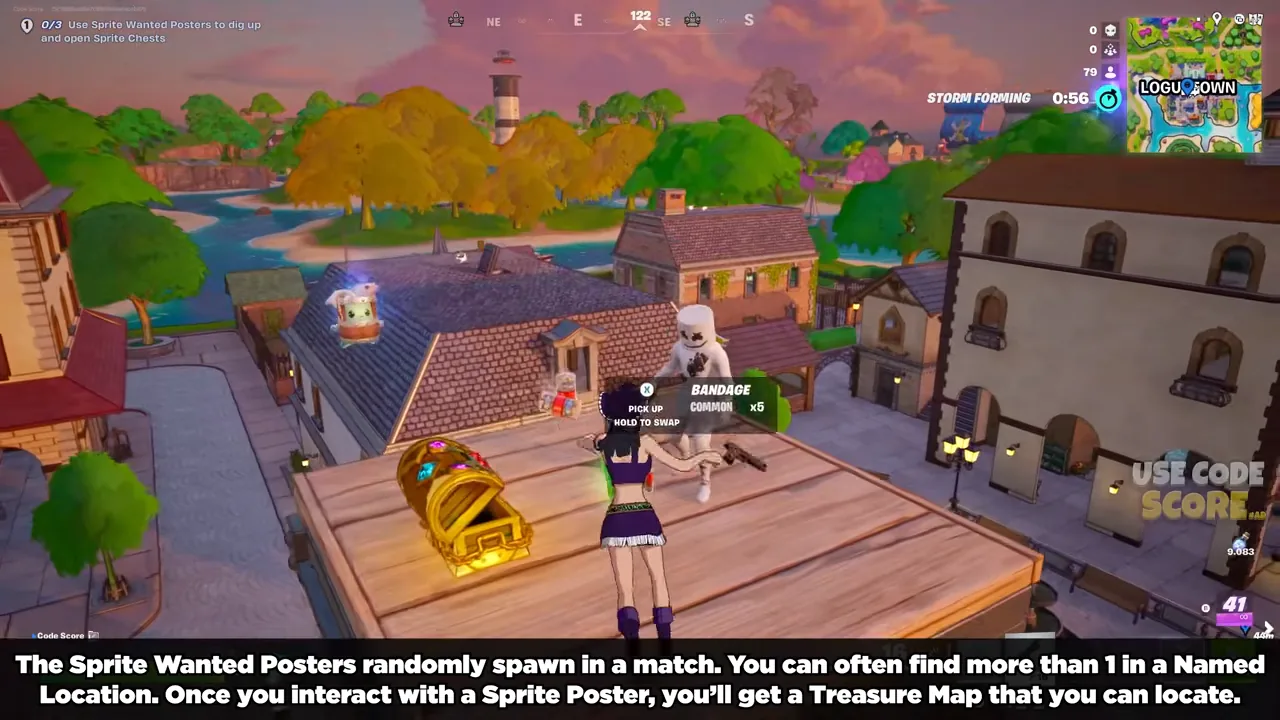
Interact with the poster
Move close to the poster and use the interaction prompt. The poster becomes a Treasure Map overlay rather than a collectible item. Read it before you leave the wall.
Identify one stable landmark first: a building shape, road, shoreline, bridge, or rock formation. Then use the red X to decide the direction and approximate distance.
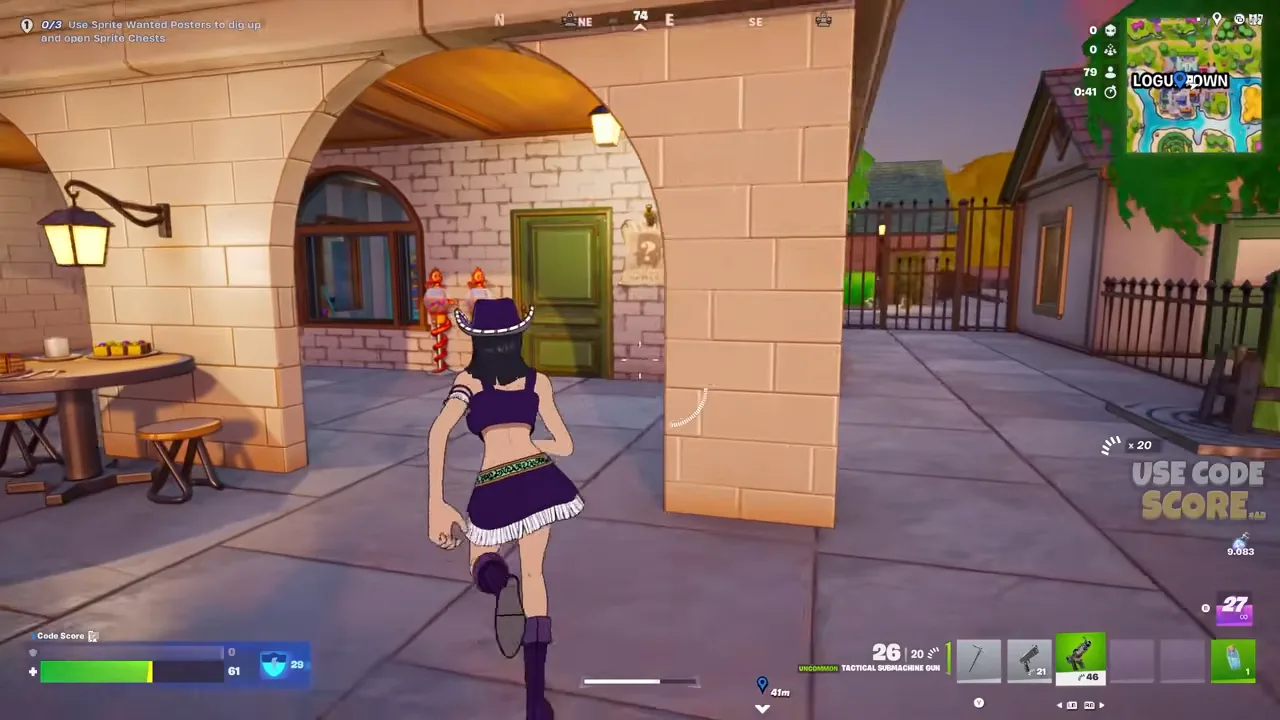
Navigate with the Treasure Map
The overlay shows a hand-drawn section of the island with a red X. Match its coastline, roads, and structures to your surroundings. Open the island map if you need to compare the wider area.
The example’s Treasure Map shows the marked spot beside recognizable terrain. You do not need to walk the exact painted path; use it to identify the destination, then choose a safe route there.
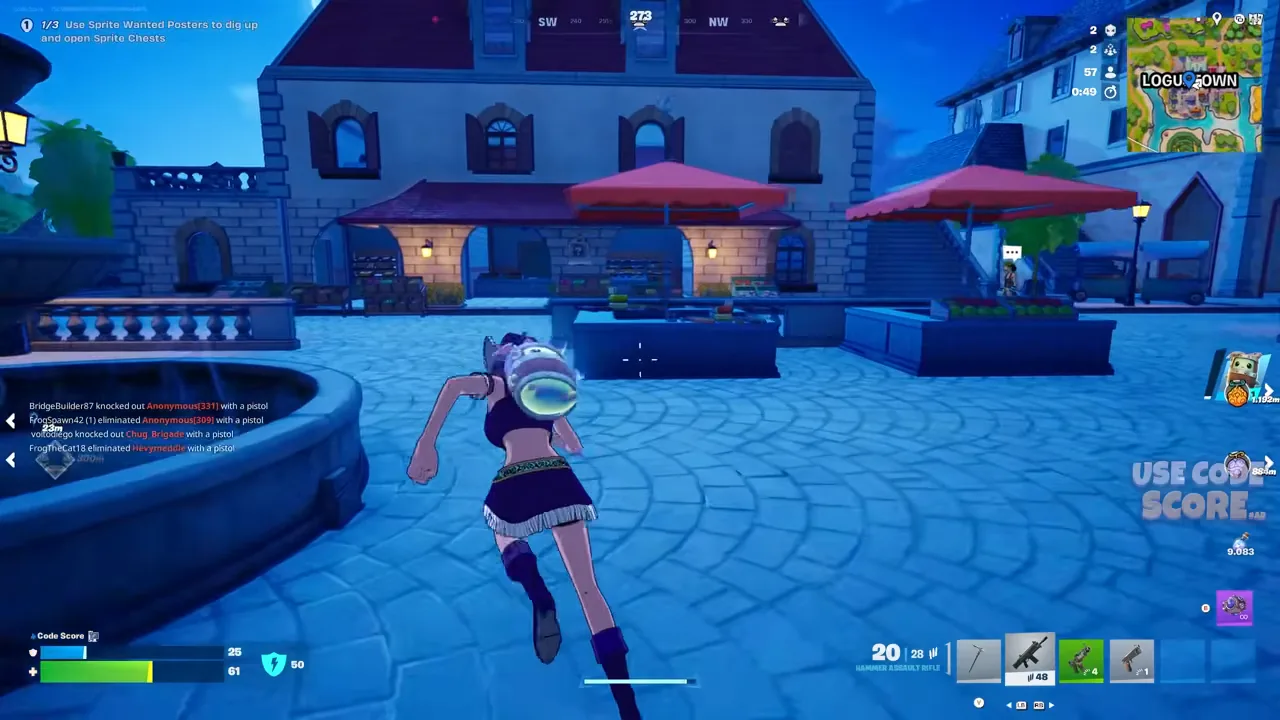
Follow the red marker to the mound
As you approach the correct ground, a red marker appears in the world. Follow it to a low mound. Stop when the marker aligns with the mound rather than continuing toward a distant landmark.
Check nearby opponents before digging. The digging animation makes you stationary, so clear or avoid a fight first.
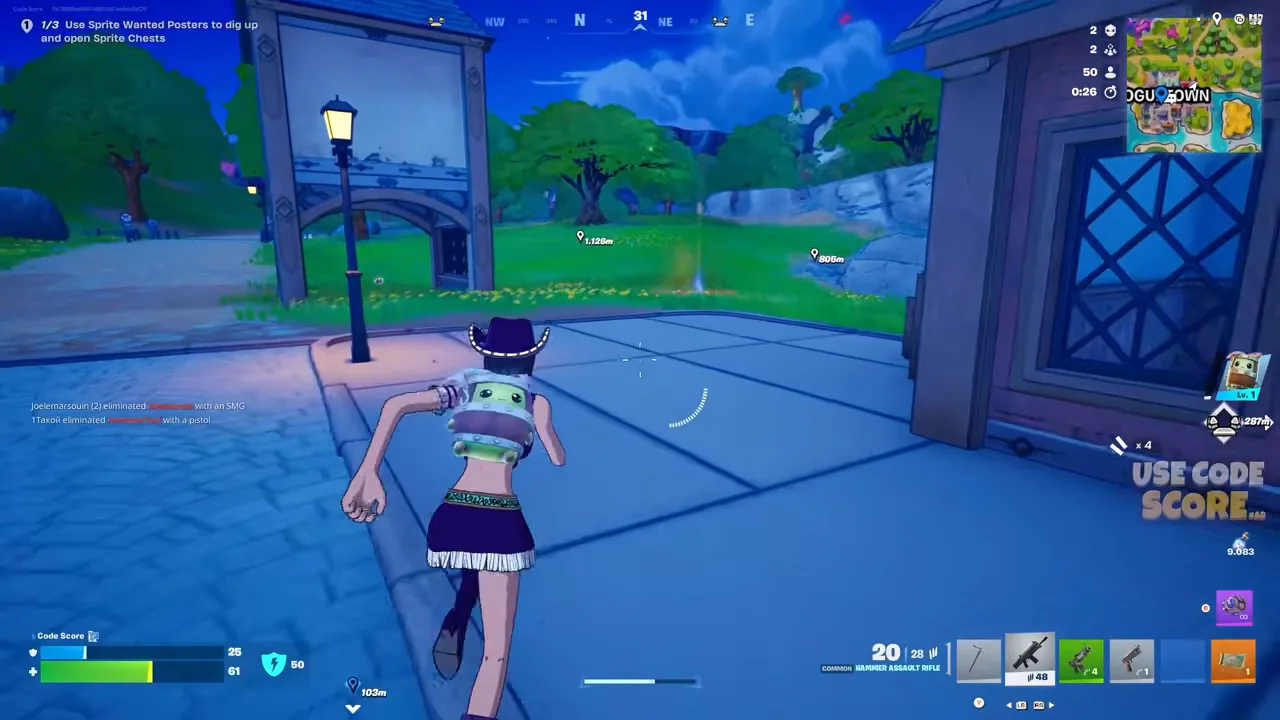
Dig at the mound with your pickaxe
Equip your pickaxe and strike the mound until the buried Sprite Chest appears. If a swing does not register, face the mound directly and swing again. Do not leave after one missed swing.
The chest is visually distinct from an ordinary chest, but it still uses the normal search interaction once exposed.
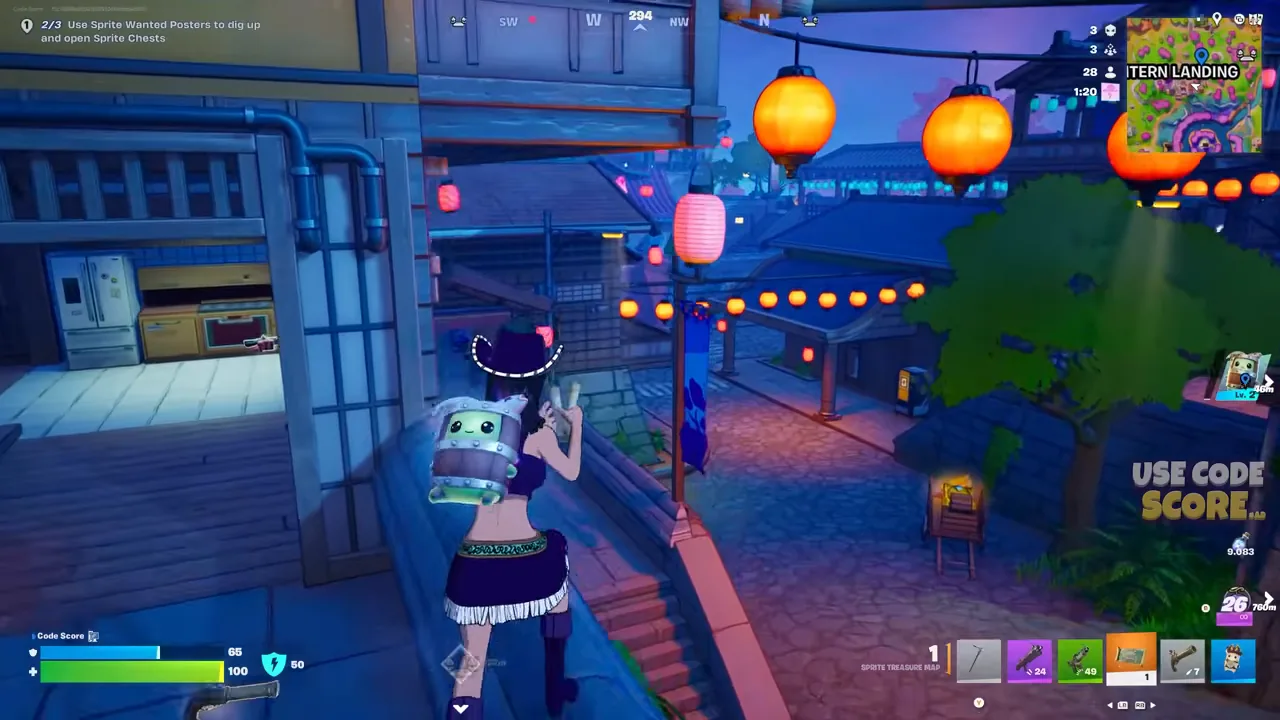
Open the Sprite Chest and repeat if the task requires it
Open the exposed Sprite Chest and collect its rewards. If your quest requires multiple poster chests, find another poster and repeat the full interaction; the demonstrated guide describes repeating the process.
Take enough loot to defend yourself before moving to the next named location. A second poster is not useful if you cannot survive the walk to it.
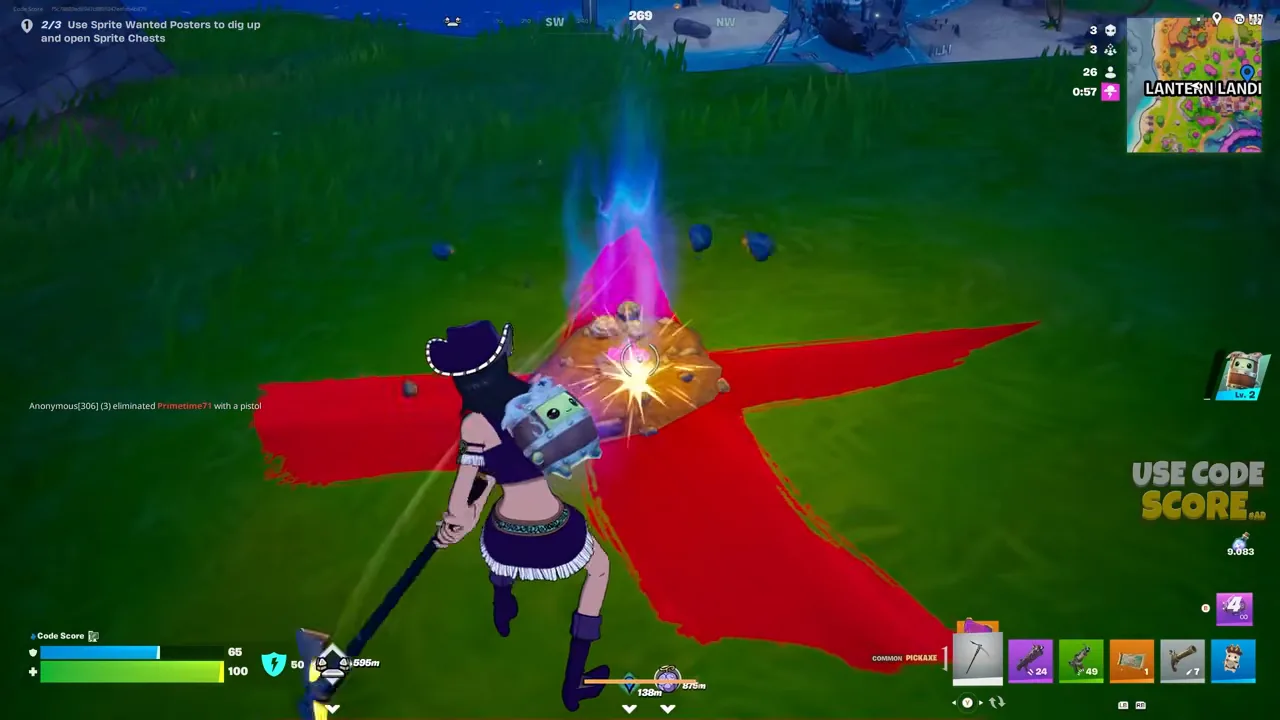
If the poster does not work
I cannot find a poster.
Search exterior walls in named locations, especially street-facing walls and building corners. Poster placement is randomized; an example from Loguetown or Lantern Landing does not create a fixed marker. If one area has none, move to another named location.
The checklist resets when you reload this page.
Related routes: The Chest buried-treasure route · Fortune’s Fort chest route · Back to the interactive map