
Tap any screenshot to enlarge it. Use “Watch this step” to replay the matching video moment.
Start on the skull-shaped roof, take the chest at the top, then work down through Cursed Cavern’s platforms and side rooms. Search vertically rather than running one long corridor.
You need: a weapon and enough shields for several close-range encounters.
Route at a glance
- Skull roof
- Upper platforms
- Side rooms
- Tangerines & barrels
- Tower layers
- Exit up/down
Cursed Cavern is a compact, multi-level area with many entrances and exits. That makes it strong for chest density but dangerous: opponents can appear above or below you. Use a fixed top-to-bottom line so you do not lose track of cleared rooms.
Step-by-step vertical route
Land on the skull-shaped roof
Aim for the skull-like structure at the top of the area. The demonstrated run lands there and immediately searches the chest on its upper surface before other players can claim it.
Look down before dropping inside. If multiple players land with you, take the roof weapon/chest first and use height to decide whether to fight or drop to a lower entrance.
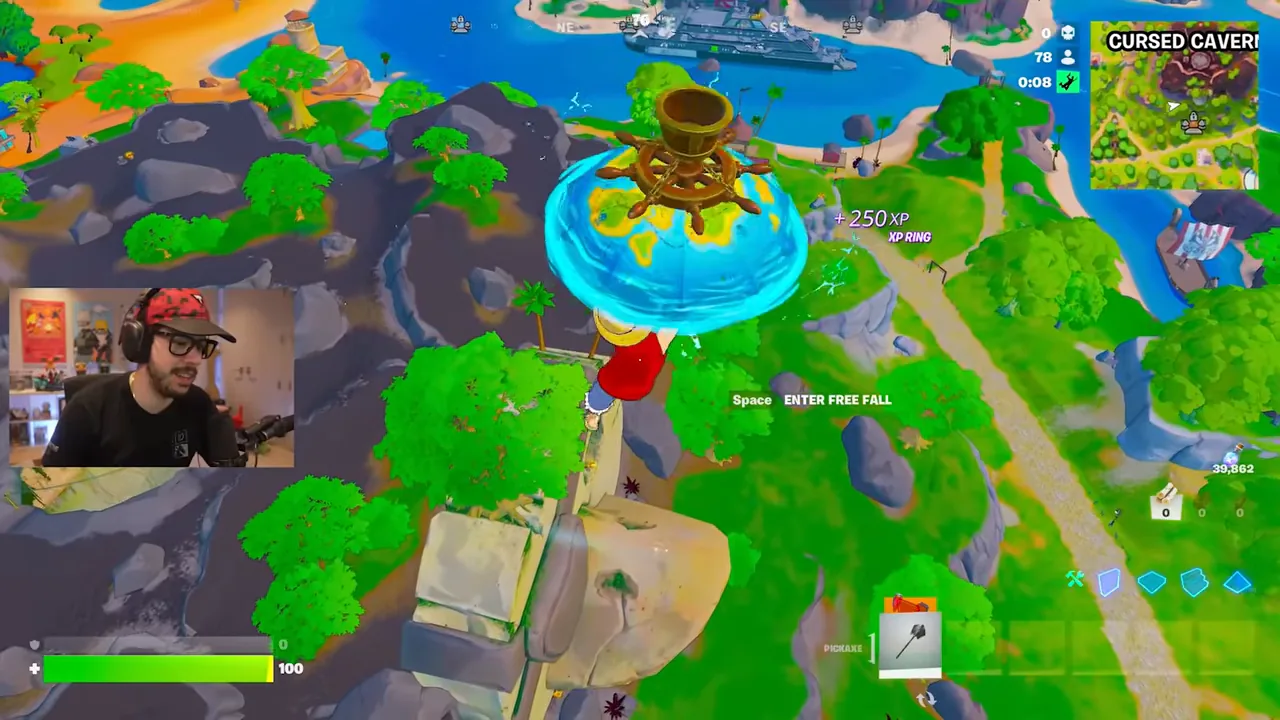
Enter through an upper opening
Drop through an upper opening into the interior. Do not run straight to the largest room: move to the nearest platform, listen for chest audio, and check the small alcove beside the entrance.
The run opens a nearby chest almost immediately after entering and finds a second close by. Treat close-together sounds as multiple possible spawns, not one echo.
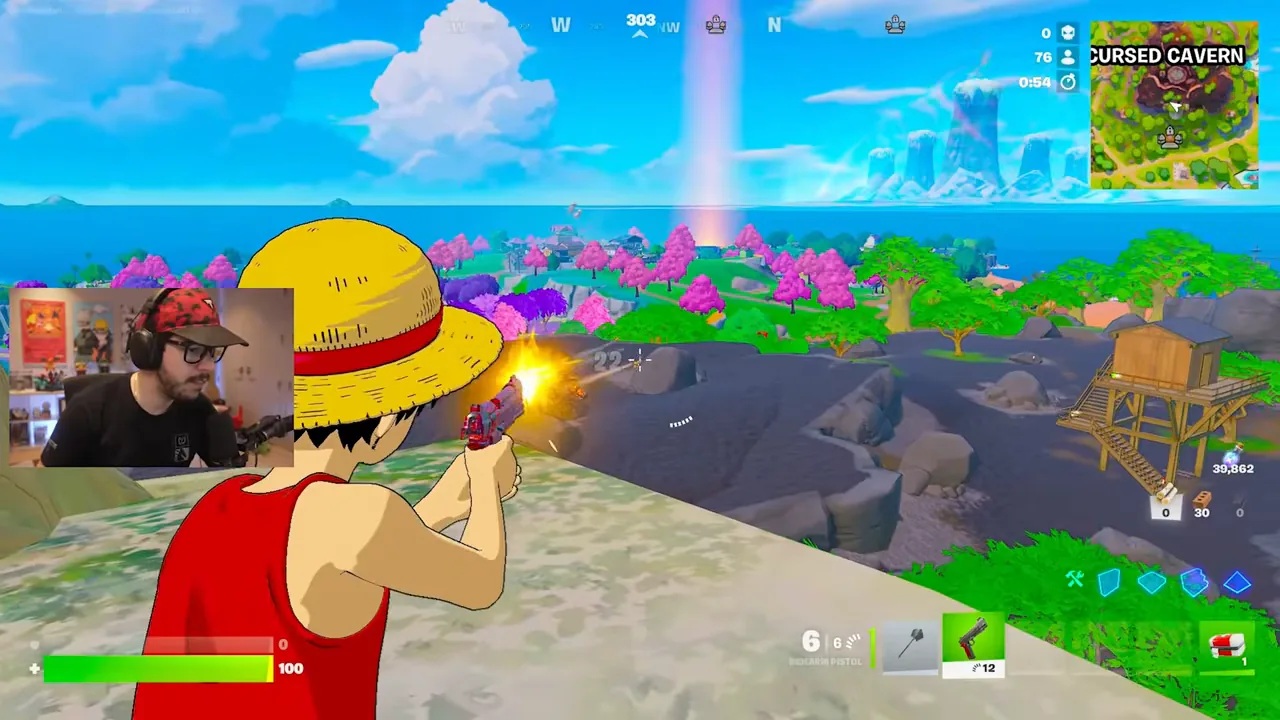
Work the side rooms and lower platforms
Follow one side of the cavern downward. Check enclosed rooms, corners behind pillars, and platform edges. The demonstrated route repeatedly finds loot by moving to side rooms rather than following only the central floor.
Break or search barrels as you go. Several shots show shield barrels and tangerines in this area; using them between chests keeps you from finishing the route at low shields.
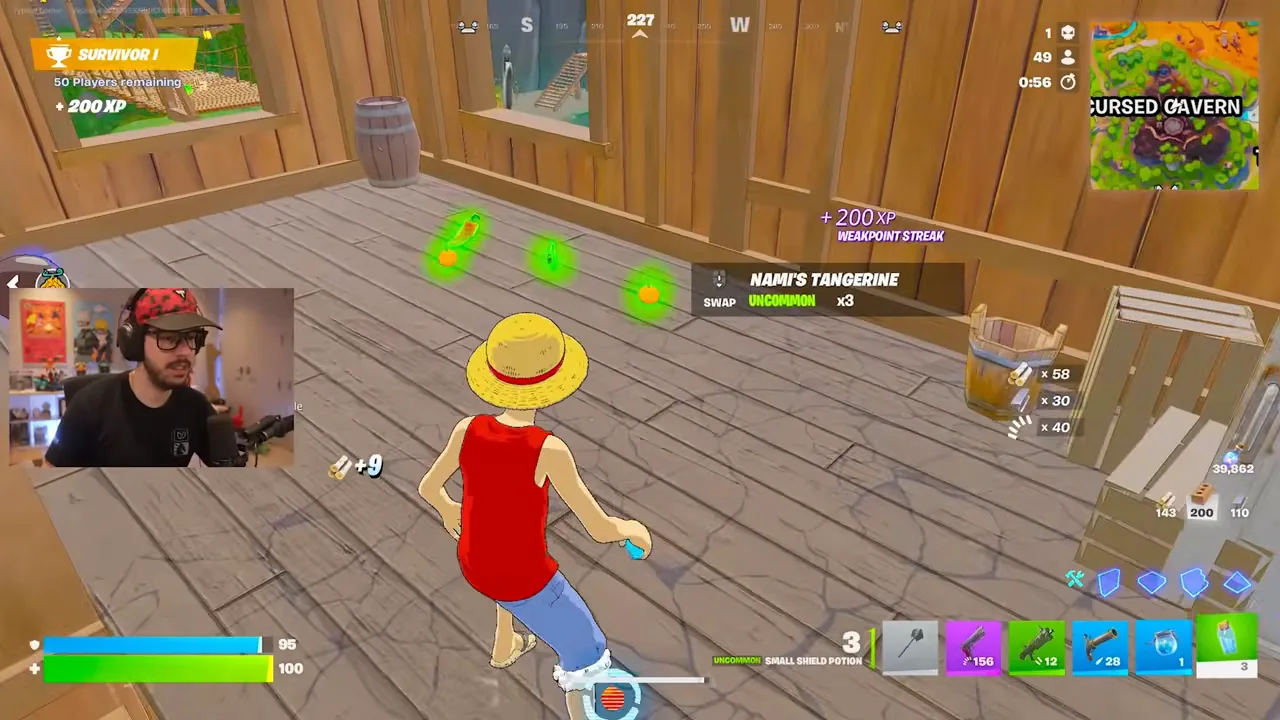
Collect tangerines and farm materials if you need them
Tangerines appear in large clusters. Eat them when your shield bar is not full, then continue searching. The run also identifies brick and barrel sources for build mode.
Do not turn material farming into a long stop. Farm only what you need before leaving, and keep listening for other players entering from the opposite side.
Search the tower layers
The nearby tower can place loot on multiple levels. Climb one layer at a time and check each surface before moving up. The demonstrated run notes a chest can appear on each layer, so the top is not automatically the only position.
If a layer is already opened, continue upward rather than waiting at the same position. Treat the tower as a separate vertical sweep after the cavern rooms.
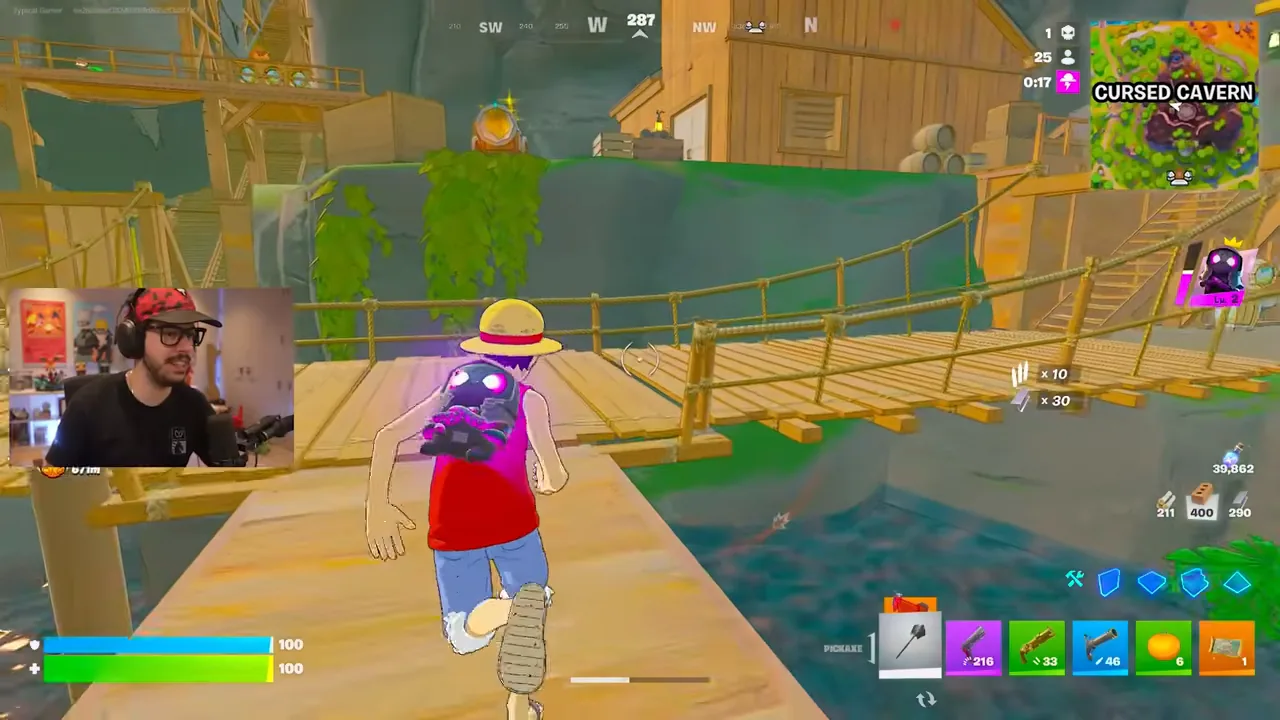
Choose your exit early
Cursed Cavern has several ways in and out. Choose your exit based on the safe zone and nearby opponents, not the nearest hole. If you hear a fight on one side, leave through the opposite entrance and heal before rotating.
For a squad, assign one player to each level and share which rooms are clear. Re-check the roof only if no opponent is present; it is the most exposed position.
Common questions
Is this good for solo players?
It can be strong because many positions are close together, but the multiple entrances also let opponents appear quickly. Land on the roof, arm yourself first, and leave if the interior is already crowded.
What are the secret chests?
The source run mentions two possible secret chests but does not demonstrate how they spawn or open. No unverified secret-chest method is included here.
Does this guarantee better rewards?
No. It is a dense search area, not a proven higher-rarity or token-odds location. No token drop is demonstrated from Cursed Cavern.
In-match checklist
The checklist resets when you reload this page.
Related routes: The Chest digging route · Fortune’s Fort outdoor loop · Back to the interactive map